Fun with drawing
The last class had us finally able to kill our snake. We were able to kill the snake either when he hit the wall or bit his own tail. I will post that code in the discord, and you should copy that to your game, so you can play around with it.
We are going to take a slight break from snake and learn a little bit about drawing, and how we can use structs to encapsulate how to draw things. Encapsulation means taking some functionality like the drawing of a an object, and put it into a reusable piece of code. In our snake game, we do that with the snake head and tail pieces, each defining a draw function.
Helpful Links
Make a self-drawing object
I want you each to make a self-drawing object. If you want to make more than one, that is good too! In the next class, I will take your objects and do some cool things with them.
To make a self drawing object, the object needs to know where it is on the screen, and draw to that point. Here is a basic raylib project you can use to draw your object:
import std.stdio;
import raylib;

struct MyThing // name this whatever you want
{
    int x;
    int y;

    void draw() {
        // insert your drawing code here, I'll just make a circle for now
        DrawCircle(x, y, 10, Colors.BLACK);
    }
}

void main()
{
    InitWindow(500, 500, "stuff");
    SetTargetFPS(60);
    MyThing thing; // add one of your objects
    thing.x = 250; // put it in the middle of the screen
    thing.y = 250;
    while(!WindowShouldClose)
    {

        BeginDrawing();
        ClearBackground(Colors.WHITE);
        thing.draw();
        EndDrawing();
    }
}
The code above will draw a black circle in the middle of the screen with a radius of 10.
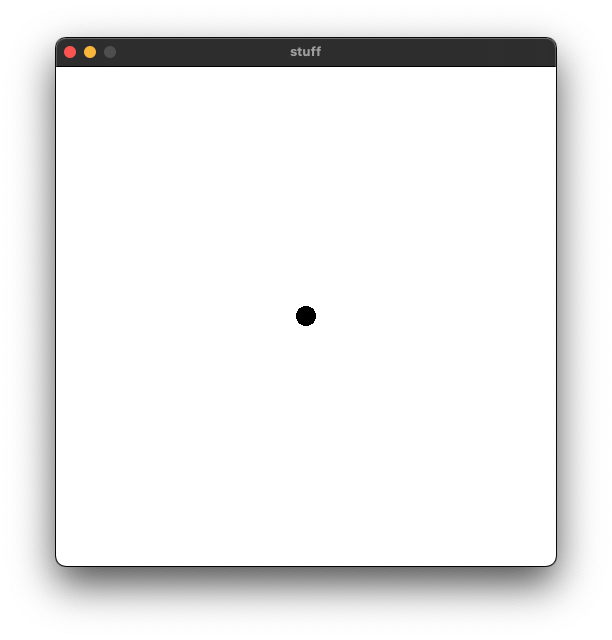
Not too interesting. But using shapes and drawing tools that raylib provides, you can make quite intricate drawings!
All the drawing functions are available on the cheatsheet, scroll down to the shapes module.
Keep in mind that the drawing is like a painting -- anything you draw will paint over what has already been drawn. So first you would draw the outer shape, then draw additional things that would appear on top of it. Do things in pieces, and test how it looks by running the code!
Using a translation
Warning: this is going to touch on some advanced math concepts that you may not understand, but I will explain the best I can what it does, and if you have further questions, you can ask on discord:
        // establish the origin
        rlPushMatrix();
        rlTranslatef(x, y, 0);
        DrawCircle(0, 0, 10, Colors.BLACK);
        rlPopMatrix();
What the heck does this code do??! I will explain each line for you, and don't worry if you don't fully understand it. The first line sets up a new matrix to the drawing code using rlPushMatrix(). I bet you didn't realize that raylib actually uses a 3d-library to draw your game! This is because most computer graphics hardware is built to handle 3d-drawing code with ease, so this is very fast.
There is some advanced math going on behind the scenes here, but I will just tell you that almost all graphics transformations are done using what's called matrix operations. We are not going to learn how this works, but raylib gives us some tools to create a matrix that does what we want based on some simple functions. I will note that these functions are NOT in the cheatsheet!
Like most things in raylib, we need to set up at the beginning, and tear down at the end. The transformation matrix is no different, which is why you see the rlPopMatrix() at the end, after we are done drawing. Just like BeginDrawing() and EndDrawing() you always have to pair these up with drawing code between. What these two functions do is tell the library to temporarily apply a special transformation matrix, and at the end, restore what was there before.
So what is the transformation we are applying? We are applying a translation, or moving of the window's origin (the point where x = 0, and y = 0). We are moving it to the values for x and y in your object. This means that if we draw a circle at position (0, 0), it will actually be at (thing.x, thing.y) on the screen.
Why is this useful? Because having to take into account the x and y coordinates for every single drawing operation can get very tedious, and prone to error. If we translate the drawing to be where our object is, we can draw it at (0, 0) every time and never worry about doing math with x and y. The library does this for us.
And finally, the DrawCircle call draws a circle at x = 0, y = 0, which is actually now at the location of our object!
So the code above actually does exactly the same thing as the drawing code in the original drawing code I posted earlier. The third argument to rlTranslatef is actually the z translation. Since we are only working in 2d in this game, we don't want to set that any differently!
Using Vector2
In raylib, there is a type called Vector2 which represents an x and y value together as a point or vector. This is a really nice type, because you can add them together, subtract them, even multiply them to use in drawing code. Many of the raylib functions that use Vector2 instead of int x and y coordinates end with a 'V'. For instance, to draw a circle with a Vector2 at pos x, y, you would use DrawCircleV(Vector2(x, y), 10, Colors.BLACK); Note it's DrawCircleV instead of DrawCircle. But also note that some functions require you to use Vector2, like DrawTriangle. Make sure to look at the cheatsheet to see which ones do what, and Visual Studio Code can also help you by telling you what the types of the parameters are.
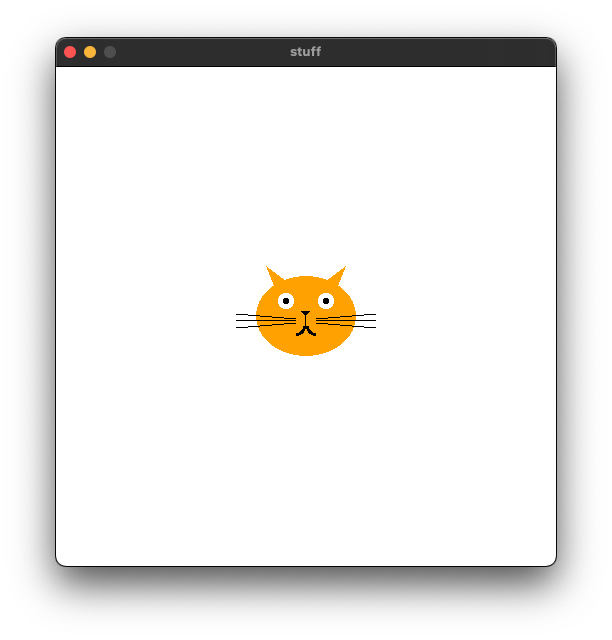
The Cat
A circle is pretty boring. So I made some code that draws a cat. You can use this for inspiration or base your code off of it, it uses a lot of functions that are in the raylib drawing code. Note that I'm using the rlTranslatef to make it easy to draw things, and I'm using Vector2 as much as possible:
struct Cat
{
    int x;
    int y;

    void draw() {
        // establish the origin
        rlPushMatrix();
        rlTranslatef(x, y, 0);

        // draw the head and ears
        DrawEllipse(0, 0, 50, 40, Colors.ORANGE);
        DrawTriangle(Vector2(0, -20), Vector2(-40, -50), Vector2(-20, 0), Colors.ORANGE);
        DrawTriangle(Vector2(0, -20), Vector2(20, 0), Vector2(40, -50), Colors.ORANGE);

        // draw eyes
        DrawCircleV(Vector2(-20, -15), 8, Colors.WHITE);
        DrawCircleV(Vector2(20, -15), 8, Colors.WHITE);
        DrawCircleV(Vector2(-20, -15), 3, Colors.BLACK);
        DrawCircleV(Vector2(20, -15), 3, Colors.BLACK);

        // nose
        DrawTriangle(Vector2(0, 0), Vector2(5, -5), Vector2(-5, -5), Colors.BLACK);
        DrawLineV(Vector2(0, 0), Vector2(0, 10), Colors.BLACK);
        DrawRing(Vector2(-10, 10), 7, 10, 0, 90, 10, Colors.BLACK);
        DrawRing(Vector2(10, 10), 7, 10, 0, -90, 10, Colors.BLACK);

        // whiskers
        DrawLineV(Vector2(10, 3), Vector2(70, -2), Colors.BLACK);
        DrawLineV(Vector2(10, 5), Vector2(70, 5), Colors.BLACK);
        DrawLineV(Vector2(10, 7), Vector2(70, 12), Colors.BLACK);
        DrawLineV(Vector2(-10, 3), Vector2(-70, -2), Colors.BLACK);
        DrawLineV(Vector2(-10, 5), Vector2(-70, 5), Colors.BLACK);
        DrawLineV(Vector2(-10, 7), Vector2(-70, 12), Colors.BLACK);

        // restore the original origin
        rlPopMatrix();
    }
}
I highly recommend you try this code in your program to play with, and comment out lines to see what function calls do what parts of the drawing. Or change around some numbers or colors and see what happens!
If you have any questions on how to use any of the raylib drawing functions, or how to do a certain part of your drawing, please ask in discord!
©2021 Steven Schveighoffer