
Installing and Building with Raylib
This document describes how to install raylib on your computer for use in your D projects, and how to set up a project to use raylib
Download Raylib
First, go to The Raylib Releases page. Here you will find downloads for the raylib library. Pick the one named "raylib-3.7.0_win64_msvc16.zip". This download contains 2 files we need. We will use these later when we set up our project.
Note, the previous version of this document used to instruct you to expand this whole file, and edit environment variables. I have found out we can avoid all this, and do things much simpler. See below.
Create a Raylib Project
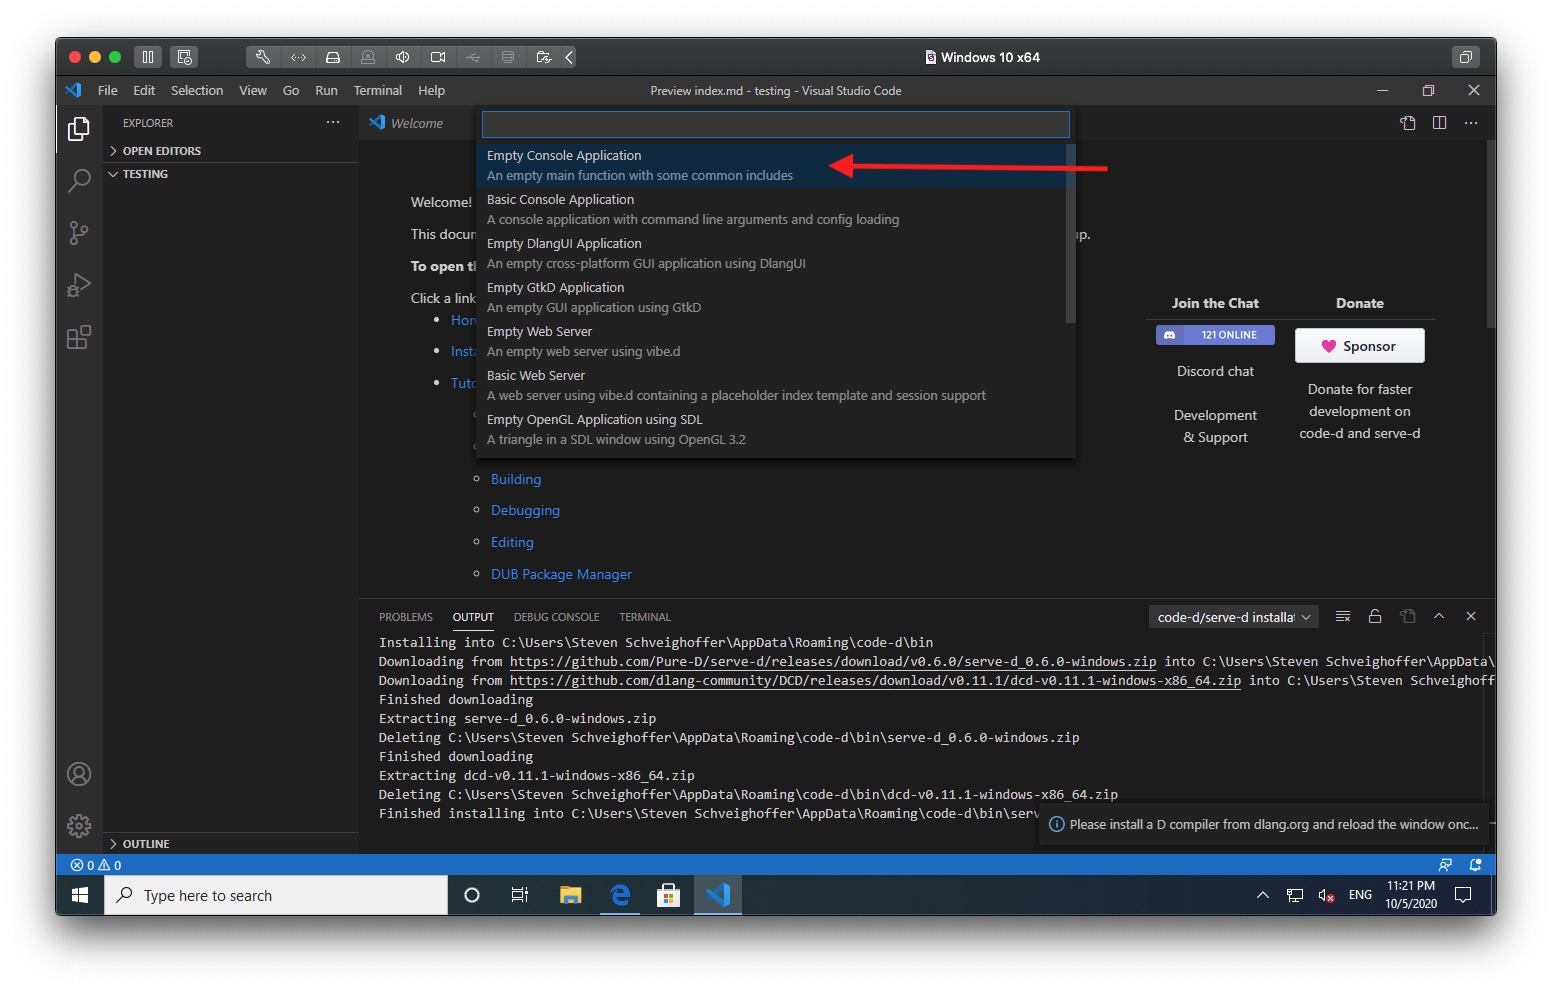
Now, you need to create a new D project. If you recall, we do this by opening a new folder in Visual Studio Code, and pressing SHIFT-CTRL-P. Then we select the "code-d: Create new Project". When the list comes up, press "Empty Console Application".

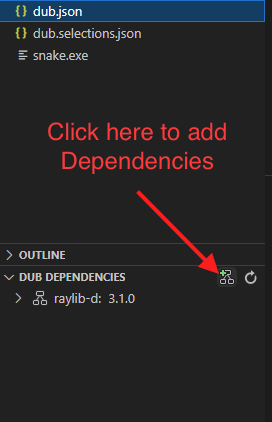
Now we need to tell the project to use raylib. This requires 2 things. First, we need the D portion of the library, which we add as a dub dependency. You add a dependency by clicking on the "dub dependencies" section, and clicking on the add dependency button. Once there, type in raylib-d (with the dash, NOT an underscore), and select the 3.1.0 binding. There are other raylib bindings, don't use those.
The second thing we need to do is to add the raylib library to the build file. You don't need to fully understand why we do this, but it is necessary. To do this, you need to edit the "dub.json" file that is in your project. After the dependency for raylib-d, add a comma, and a new line. vscode will auto-complete as you type, so use its suggestions. We want to add this:
        "dependencies": {
            "raylib-d": "~>3.1.0"
        },
        "libs": ["raylibdll"]
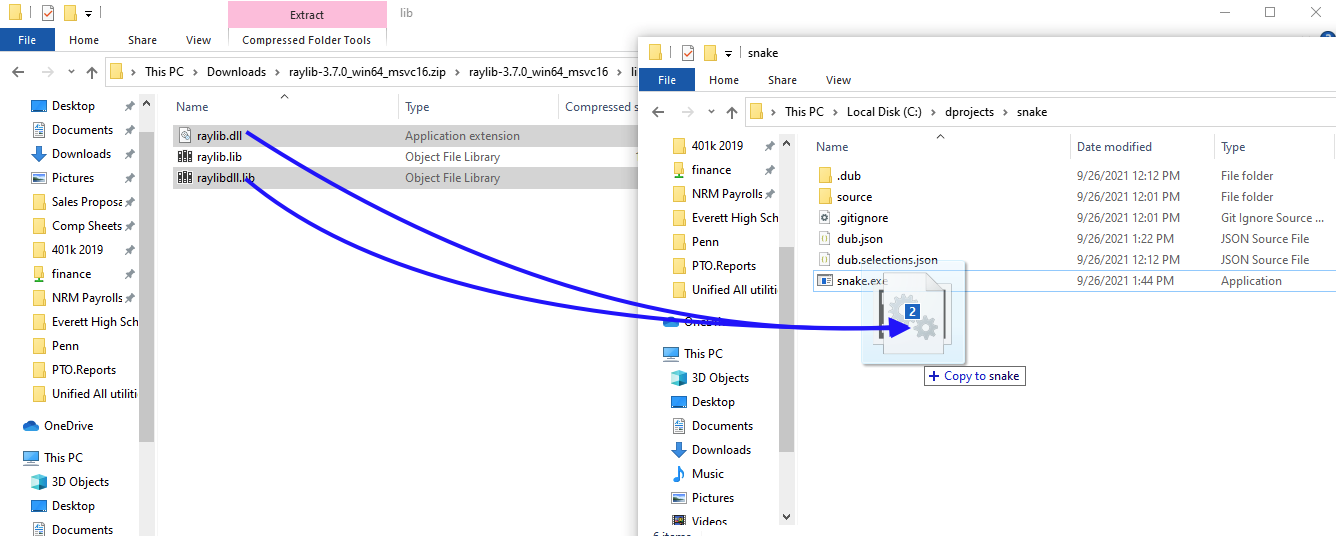
Open the raylib zipfile we downloaded earlier in Windows Explorer. You usually can find this in your Downloads directory. It gives you access to the files inside the zip file. However, we need to copy the library files to your project. First, go into the main folder, then the folder named lib. Inside that directory, there are 2 files we need, raylib.dll and raylibdll.lib. Do not copy the raylib.lib file.
Copy the files into your project like this (hint, you can use CTRL-click to select multiple files):
Try to build with CTRL-SHIFT-B and select the "Run" option. If your program builds and runs, you are all set! If ot doesn't build or run, then something went wrong in the previous steps. You can contact me on discord and we can figure it out.
To see if raylib is functioning properly, you can add the code as identified in the Homework from class 1 and see the window pop up
©2021 Steven Schveighoffer