Introduction to 2d drawing
In this last class, we learned about a new library that we will be using called raylib. Although the library provides facilities to do high-performance 3d graphics, we will only be using 2d graphics for this class, and it supports that as well.
I wanted to go over again the game loop concept because you need to use this concept for all gaming programs. Most libraries (including raylib) expect you to write your code this way, so let's review this loop.
First, before the game loop even happens, you need to initialize your game state. This can include reading save data from disk, or setting up a new game. If you are running 2d game engine, you may not set up the full game state until someone selects a save, for instance.
The following steps happen inside the game loop. They run until the game has indicated it should exit (for our raylib game, this condition is when the function WindowShouldClose() returns true.
- Check for any inputs from the user. In raylib, this means looking to see if any keys were pressed or mouse movements happened, etc.
- Process any changes that need to be made to the game state, including things that might happen on their own (like a character animation) or things that happen because the user provided new input
- Draw the next frame for your game to the screen
If you remember from class, we used the simple game loop to draw the text "hello, world!" to the screen. While it may have looked like your text was drawn once, and stayed there, in fact, raylib was looping, drawing your text at the frame rate specified by the library over and over. It's just that the drawing always happened the same way every loop!
But an interesting game doesn't draw the same picture over and over, it does something different whenever you draw a new frame. What if we made the text move around? What if we made the text shrink or grow? We are going to do some interesting things with the window in the homework, and also draw an image to the screen.
Before we get to the homework, here are a couple links to help you. The first links to instructions I wrote on how to install raylib. The second link is to the raylib cheat sheet. This link gives you a list of ALL the functions raylib supports, and which you can use to implement your game. You don't need to know all of them, but you can use it as a reference. If you think "How do I draw a circle?" or "How do I rotate an image?", you can use this cheat sheet to find the function to do it.
Homework assignment - More 2d graphics
I realize that the last homework was particularly difficult, and we added a bunch of stuff this class, so I'm going to go easy on you this time!
Here is the code as we finished in the coding class (in case you lost yours or didn't get it working):
import std.stdio;

import raylib;

void main()
{
    InitWindow(720, 640, "Test Window");
    while(!WindowShouldClose())
    {
        BeginDrawing();
        ClearBackground(Colors.WHITE);
        DrawText("Hello, World", 10, 10, 60, Colors.BLACK);
        EndDrawing();
    }

    CloseWindow();
}
Let's go through the code again, and make sure you understand what is happening. The first line initializes a window, with the title "Test Window", with width 720 and height 640. Those numbers represent pixels on your screen.
The while(!WindowShouldClose()) loop is going to continue as long as the user hasn't requested that the window close (either by clicking the red X in the corner, or hitting escape). You read it like "While the WindowShouldClose function returns false". Remember that the exclamation point when applied to a boolean returns the opposite.
Inside the loop, we call the function BeginDrawing(). This sets up raylib to allow you to draw things to a canvas (a piece of memory stored internally that will then be copied to the screen).
The ClearBackground(Colors.WHITE) will clear the background of the canvas, and replace it with a white color. Colors is actually an enumeration or enum which holds all kinds of different values for colors. If you type Colors. then after you type the dot, it will bring up a list of all the colors that are pre-defined by the enumeration.
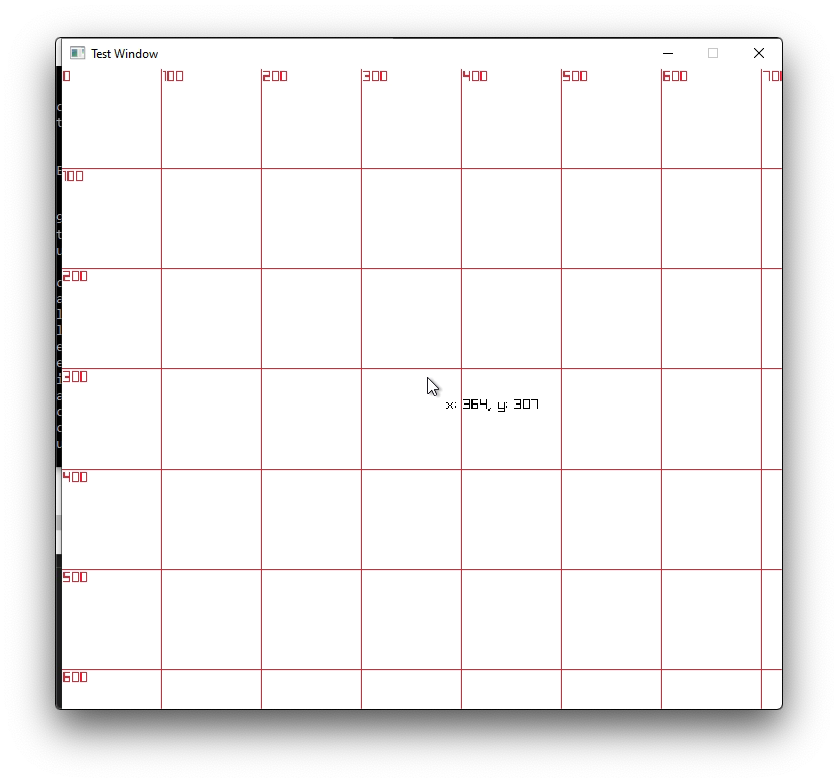
The DrawText function draws the string "Hello, World" at x position 10, y position 10, with font size 60, and in a black color. On a screen or canvas, remember that x position goes from left to right, and y position goes top to bottom. Here is a program that I wrote with raylib to demonstrate the coordinate system: raylibtest.exe. It shows the coordinates of the mouse pointer in real time, along with drawing gridlines for you to see the coordinates for every 100 pixels.
The final line in our main function is CloseWindow(). In programming, we need to remember to clean up anything we are done using. Otherwise, the computer keeps it around in memory in case we want it later. This tells the library we are done with that window, and it can clean up all the resources used for it.
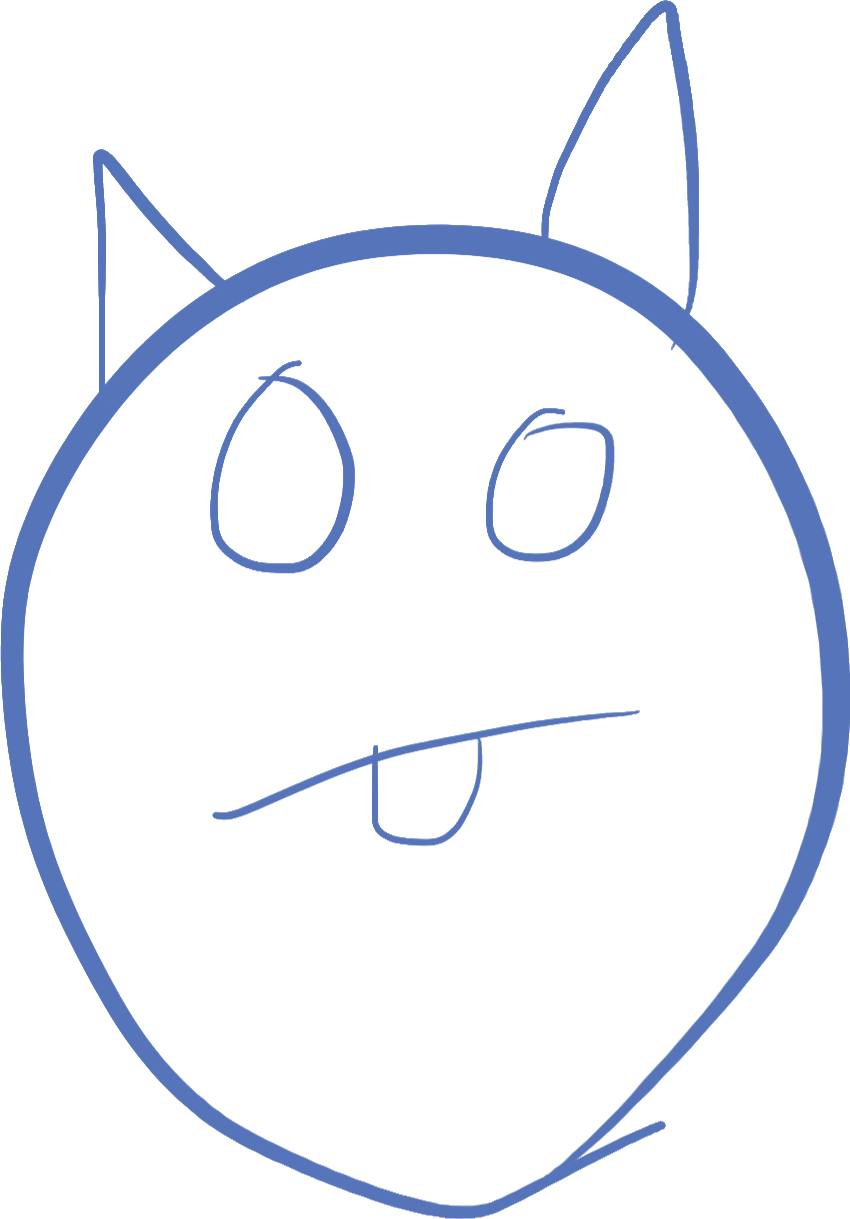
For the homework, we're going to put a texture on the screen. Remember last time, I wanted you to find a PNG image? We can use that image to draw a picture on the screen scaled to any size.
Let's remove the "Hello World" code, and add code to load the texture and draw it. To load an image as a 2d texture, we use the raylib function LoadTexture(filename). Make sure your png file is inside your project directory.
Now, add the following lines to your code (only add the highlighted lines). Remember how we close the window to clean it up? We also need to clean up the texture at the end. This is what the UnloadTexture function does:
void main()
{
    InitWindow(720, 640, "Dlang Raylib Window");

    Texture2D img = LoadTexture("face.png");
    img.width = 240;
    img.height = 240;

    while(!WindowShouldClose())
    {
         ... // your loop code
    }

    UnloadTexture(img);

    CloseWindow();
}
Note, you should replace "face.png" with whatever filename you had for your PNG file. The code that sets the width and height will scale your image to those parameters, so you can squish or enlarge your picture to whatever size you want.
Now, inside the drawing loop, use the function DrawTexture(texture, xpos, ypos, color) to draw your texture wherever you want. An example:
        BeginDrawing();
        ClearBackground(Colors.WHITE);
        DrawTexture(img, 100, 100, Colors.WHITE);
        EndDrawing();
Play around with the parameters, see what they do!
I want you to try some of the drawing functions on the raylib cheat sheet. Inside your drawing loop, draw circles, rectangles, other shapes, textures, anything you want. Remember the cheat sheet above. Put all your drawing code BETWEEN the BeginDrawing() and EndDrawing() function calls. Here are some ones that might be nice:
DrawLine: draws a line between 2 sets of coordinatesDrawCircle: draws a circle at a certain coordinate with a certain radiusDrawCircleLines: draws just the outline of a circle.DrawPoly: Draw an N sided polygonDrawText: Draw text at the specified location with the specified font size and color
One more thing. Even though we have been drawing stable images, the program is still running your drawing code upwards of 60 times per second! See if you can use a variable to change the x or y position of your drawing items. For instance, store an x and y variable, and change them every time through the loop, using those to draw your items! One thing you will learn very very quickly is that drawing graphics involves a LOT of math. It's very important to understand how to use the computer to do your math for you, which will become very obvious as you keep working on your game code.
It was suggested that next class we just have fun, and learn what you guys want to learn, so think of some things you might want to do in graphics, and we can work together to get these to happen. I won't have any specific lesson planned, but I would like to hopefully cover accepting user input.
©2019-2020 Steven Schveighoffer